If you’re a car enthusiast looking to boost your vehicle’s performance, efficiency, or style without breaking the bank, DIY modifications are the perfect place to start. These beginner-friendly upgrades require minimal tools, basic mechanical know-how, and offer noticeable results. Here are the Top 5 Affordable DIY Car Mods you can tackle at home, complete with step-by-step instructions, cost estimates, time requirements, and the benefits you’ll enjoy.
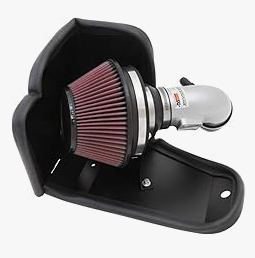
1. Cold Air Intake Installation
What it does: Replaces your car’s restrictive factory air intake with a freer-flowing system, allowing the engine to breathe better.
Benefits: Improved horsepower (5-10 HP gain), better throttle response, and a satisfying engine growl.
Cost: $50–$150
Time: 1–2 hours
Tools Needed: Screwdriver, wrench set, pliers
Step-by-Step Instructions:
- Park your car on a flat surface, turn off the engine, and let it cool.
- Locate the factory airbox (usually near the front of the engine bay) and disconnect the battery to avoid electrical issues.
- Unscrew or unclip the airbox and remove the stock air filter and intake tube.
- Attach the new cold air intake’s mounting bracket to the engine bay using existing bolts.
- Connect the intake tube to the throttle body, secure it with the provided clamps, and install the new air filter.
- Double-check all connections, reconnect the battery, and start the engine to test.
Pro Tip: Ensure the intake filter sits away from hot engine parts for maximum cold air flow.
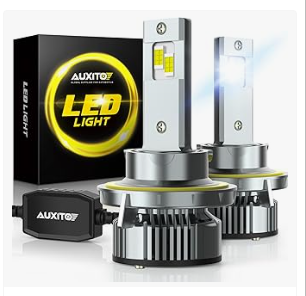
2. LED Headlight Swap
What it does: Upgrades dim halogen headlights to bright, energy-efficient LEDs.
Benefits: Enhanced visibility, modern aesthetics, and longer bulb life.

Cost: $30–$80 per pair
Time: 30 minutes–1 hour
Tools Needed: Gloves, screwdriver (optional, depending on car)
Step-by-Step Instructions:
- Turn off your car and pop the hood.
- Locate the back of the headlight assembly and unplug the wiring harness from the old bulb.
- Twist or unclip the halogen bulb to remove it (avoid touching the glass with bare hands).
- Insert the LED bulb into the socket, ensuring it locks into place.
- Plug the wiring harness into the new bulb (some LEDs may require an adapter—check the kit).
- Test the lights and adjust alignment if needed using your car’s headlight adjustment screws.
Pro Tip: Wear gloves to keep oils off the bulbs, which can shorten their lifespan.
What it does: Replaces worn-out factory spark plugs with high-performance ones (e.g., iridium or platinum).
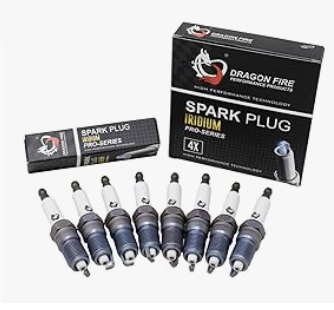
Benefits: Smoother engine performance, slight horsepower boost (1-5 HP), and improved fuel efficiency.
Cost: $20–$50 (set of 4–8, depending on engine)
Time: 1–2 hours
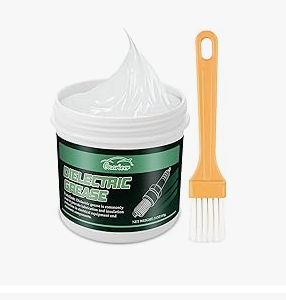
Tools Needed: Ratchet, spark plug socket, torque wrench, dielectric grease
Step-by-Step Instructions:
- Let the engine cool completely to avoid burns.
- Locate the spark plugs (usually under ignition coils or wires—consult your car’s manual).
- Remove one ignition coil or wire at a time by unplugging it and unscrewing the bolt.
- Use the spark plug socket and ratchet to remove the old plug.
- Apply a small amount of dielectric grease to the new plug’s threads, then install it by hand until snug.
- Tighten with a torque wrench to the manufacturer’s specs (avoid overtightening).
- Reattach the coil or wire, then repeat for each plug.
Pro Tip: Replace one plug at a time to avoid mixing up wires.
4. Vinyl Wrap Accent or Decal

What it does: Adds custom stripes, logos, or accents to your car’s exterior with adhesive vinyl.
Benefits: Personalized aesthetics without the cost of a full paint job; removable if you change your mind.
Cost: $10–$50 (depending on size and quality)
Time: 1–3 hours
Tools Needed: Squeegee, heat gun or hairdryer, rubbing alcohol, microfiber cloth, exacto knife
Step-by-Step Instructions:
- Clean the target area (e.g., hood, side panel) with rubbing alcohol and a microfiber cloth.
- Measure and cut the vinyl to fit, leaving a little extra around the edges.
- Peel off the backing and apply the vinyl slowly, smoothing it with the squeegee to remove air bubbles.
- Use a heat gun or hairdryer to soften the vinyl and stretch it around curves or edges.
- Trim excess vinyl with an exacto knife and press down edges firmly.
- Let it set for a few hours before washing or driving.
Pro Tip: Work in a warm, dust-free environment for best adhesion.

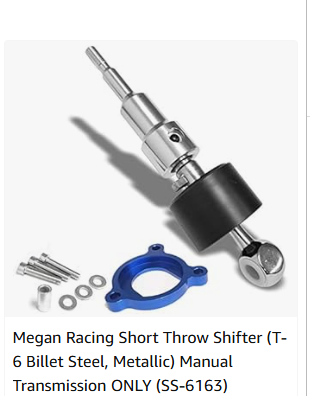
5. Short-Throw Shifter (Manual Cars)
What it does: Replaces the stock shifter with a shorter version for quicker, more precise gear changes.
Benefits: Improved driving feel, faster shifts, and a sportier vibe.
Cost: $50–$100
Time: 1–2 hours
Tools Needed: Screwdriver, wrench set, pliers

Step-by-Step Instructions:
- Park the car, engage the parking brake, and remove the shift knob by unscrewing it.
- Remove the center console trim (usually held by clips or screws—check your car’s manual).
- Locate the shifter assembly and disconnect the linkage (may require pliers or a wrench).
- Unbolt the stock shifter and replace it with the short-throw unit, securing it with the provided hardware.
- Reconnect the linkage, ensuring smooth movement through all gears.
- Reinstall the console trim and shift knob, then test-drive to confirm functionality.
Pro Tip: Lubricate pivot points with grease for smoother operation.
Final Thoughts
These DIY mods are perfect for beginners because they’re affordable, manageable with basic tools, and deliver tangible rewards—whether it’s a few extra horsepower, better fuel economy, or a head-turning look. Before starting, always double-check compatibility with your car’s make and model, and don’t hesitate to watch a YouTube tutorial for extra confidence. With a little time and effort, you’ll transform your ride and gain hands-on skills along the way. Happy modding!